/*<![CDATA[*/ div.rbtoc1770847741294 {padding: 0px;} div.rbtoc1770847741294 ul {list-style: disc;margin-left: 0px;} div.rbtoc1770847741294 li {margin-left: 0px;padding-left: 0px;} /*]]>*/ Job Labor Report Certified Payroll Report Union Report Rate Class Setup Report Rate Class Union Report Employee Union Report Monthly Union Report Monthly Payroll Report Monthly Contribution Report Technician Schedule Report
Job Labor Report
The Job Labor report contains estimated, actual, and remaining labor hours for all labor cost codes for the job, as well as field estimated percentage complete and the percentage of the cost code completed based on the field estimate. This report also projects gain or loss for each cost code, based on the field-estimated percentage complete.
-
Choose Reports > Job Cost > Labor Reports > Job Labor.
-
Use the From and To lookup buttons to select the print range. Choose Insert >>.
-
Choose Print.

Certified Payroll Report
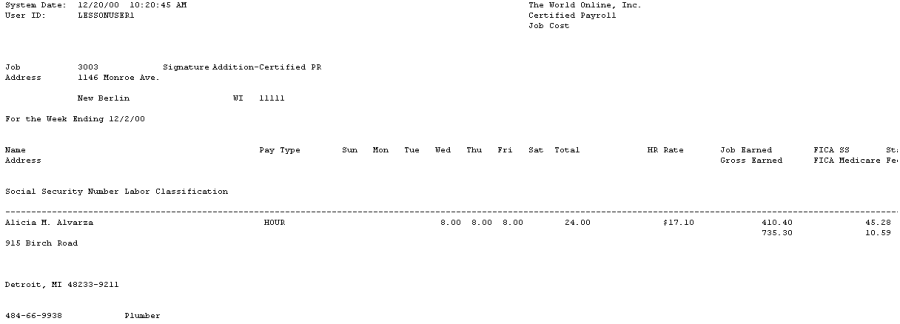
The Certified Payroll report lists employee information, details of hours worked, hourly rate, gross earned in job, deductions, and net weekly pay for the selected jobs.
To print accurate certified payroll reports, you must print your payroll checks using the Microsoft Dynamics GP Payroll module.
You must have an address ID entered in the Employee Address Maintenance window (Cards > Payroll > Employee > Address) for transactions to appear on the Certified Payroll report. To print a Certified Payroll report using SRS, refer to the TimeTrack manual. When building your payroll batches for certified payroll checks, the From and To dates of the Pay Period Date field in the Build Payroll Checks window (Transactions > Payroll > Build Checks) must be in a seven-day range. The From (beginning) date must be the beginning day of the week; the To (ending) date must be the week-ending date from the payroll transaction. This applies to both Microsoft Dynamics GP and TimeTrack payroll transactions.
-
Choose Reports > Job Cost > Labor Reports > Certified Payroll.
-
Enter the transaction beginning and ending dates.
-
Choose to print the report for all transactions, one job, or a range of jobs. Enter a Job Number or Range.
-
Choose Print.
Union Report
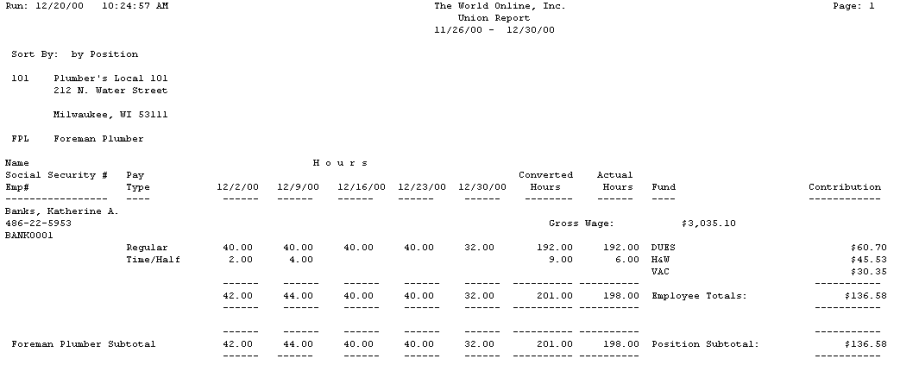
The Union report is a combination of the Union report and Union Summary report. Both reports contain weekly pay amounts, benefit, and deduction contributions for each employee in the union. You can also sort the employees by name or position and automatically calculate gross wages by transaction date or check date. A maximum total of 150 benefits and deductions will print on the Union report. The Union Summary report lists a summary for all union employees.
-
Choose Reports > Job Cost > Labor Reports > Union.
-
Enter the date to begin the report. If you are going to calculate gross wages based on a check date, enter the first day of the month in which the check was issued, rather than the first day of the month when the pay period began.
-
Choose to print a Union report, Union Summary report, or both. The default is Summary, which is both reports. To print only the Union Summary report, mark the Summary Only checkbox. To print only the Union report, unmark both checkboxes.
-
Enter the beginning and ending dates of the pay weeks for which you want report information.
For this report, the pay week must begin and end on the first and last days of the week as defined for the pay period (Transactions > Payroll > Build Checks).
-
Choose to Sort the report by position or by employee last name. If you sort by position, a subtotal is given for each position. The report also includes a total by union. If you sort by employee last name, the report will total by union and not by position.
-
Choose to Calculate Gross Wages by check date or transaction date. If you choose to calculate by check date, the employee summary table is used to get the gross wages. Make sure that, if your pay period begins in one month and ends in another, the Month Begin Date is the first day of the month in which the check was issued, rather than the first day of the month in which the pay period began. If you choose to calculate by transaction date, the payroll transaction history table is used to get the gross wage amount for each transaction.
-
Choose Print.
Rate Class Setup Report
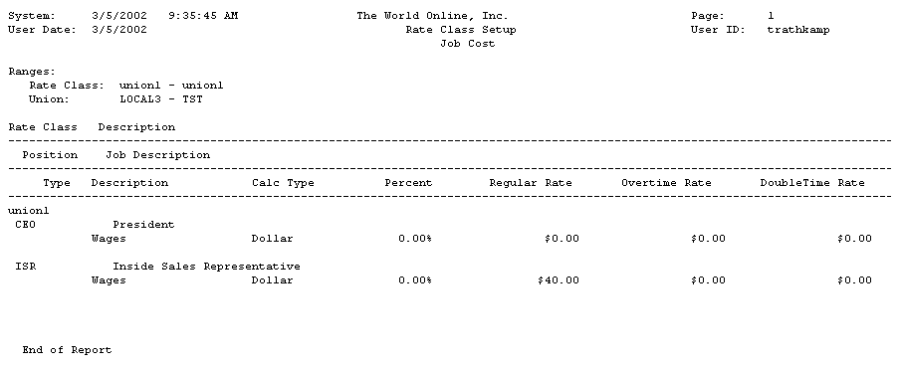
The Rate Class Setup report lists all rate classes entered.
-
Choose Reports > Job Cost > Labor Reports > Rate Class.
-
Enter a rate class range or choose All to include all rate classes.
-
Enter a union code range or choose All to include all union codes.
-
Choose Print.
Rate Class Union Report
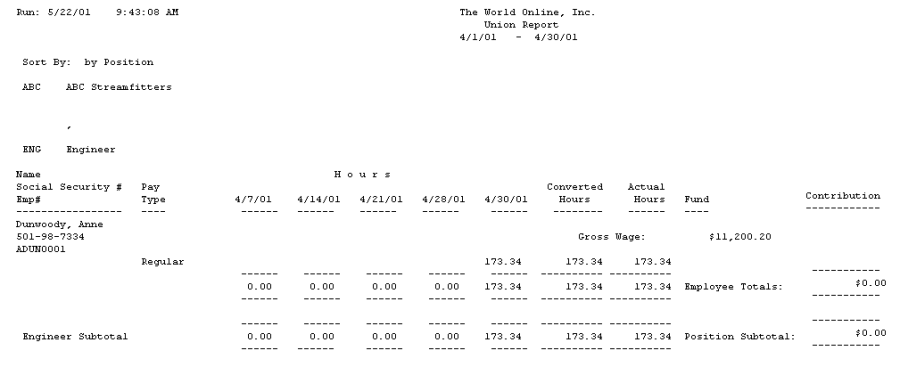
The Rate Class Union report is a combination of the Union report and Union Summary report. Both reports contain the amount of hours and gross wages. The Union report is organized by union employee; the Union Summary report is organized by union and rate class. You can run the report for a single union code or a range of union codes.
-
Choose Reports > Job Cost > Labor Reports > Rate Class Union.
-
In the Month Begin Date field, enter the beginning date for the report.
-
Choose to print a Union report, Union Summary report, or both. The default is Summary, which is both reports. To print only the Union Summary report, mark the Summary Only checkbox. To print only the Union report, unmark both checkboxes.
-
Enter the starting and ending union codes.
-
Enter the beginning and ending dates for each week. If you leave these fields blank, the dates will automatically fill in, starting from the date entered in the Month Begin Date field.
-
In the Options area, select either Position or Name as the sorting option for the report.
-
Choose Print.
Employee Union Report
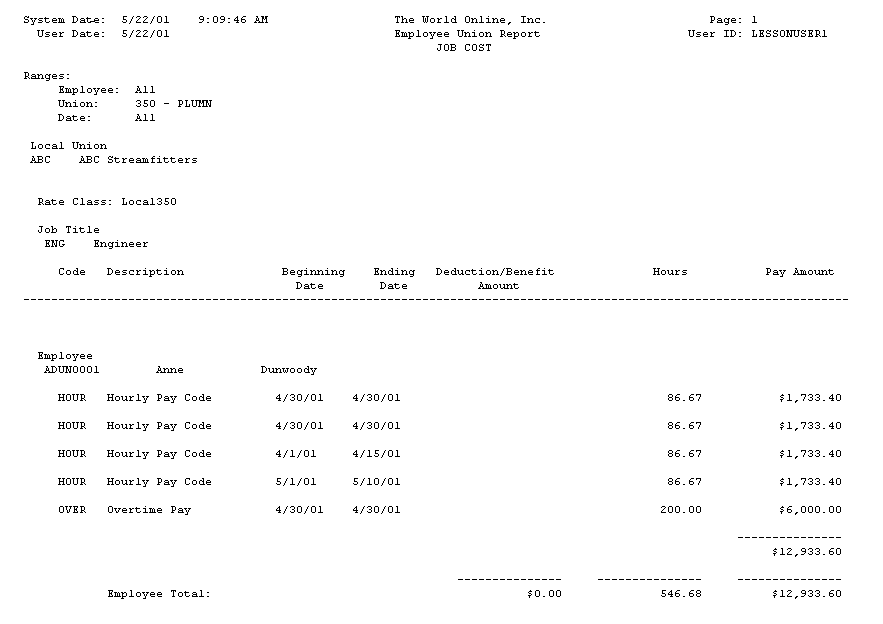
The Employee Union report lists all the employees who belong to a union. The report contains deduction/benefits amounts, hours, and pay amount. The report is organized by union, then rate class.
-
Choose Reports > Job Cost > Labor Reports > Employee Union.
-
Use the Ranges drop-down list to select the range for running the report. You can specify ranges for the employee ID, week-ending date, and union code.
If you don't select a range, the report will print all values for all range types.
-
In the From and To fields, select the beginning and ending values for your range. For the Employee ID and Union Code ranges, use the lookup buttons to select values. For the Week-Ending Date range, enter the beginning and ending transaction dates, not the week-ending dates.
-
Choose Insert >>. You can create one range for each type of range.
-
Choose Print.
Monthly Union Report
The Monthly Union report contains the number of hours and amount of earnings for each union employee within a specified time period and union range. The report also contains hours and earnings by rate class. This report is organized by union code.
-
Choose Reports > Job Cost > Labor Reports > Monthly Union.
-
In the Ranges field, use the drop-down list to select the range(s) for the report. You can specify ranges for the week-ending date and for union code.
-
In the From and To fields, enter the beginning and ending values for your range. For the Week-Ending Date range, enter the beginning and ending transaction dates, not the week-ending dates.
-
Choose Insert >>. You can create one range for each type of range.
-
Choose Print.
Monthly Payroll Report
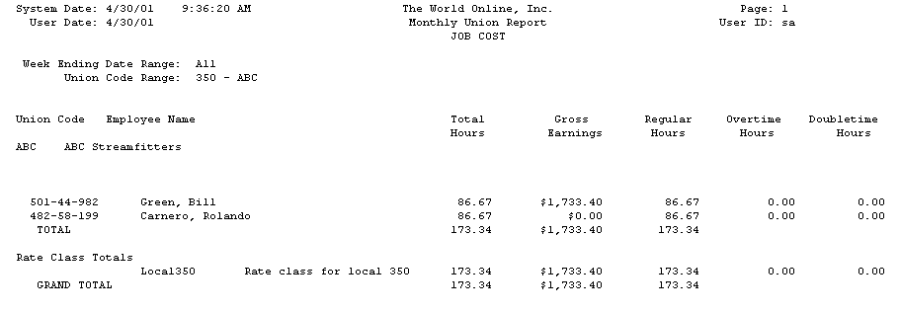
The Monthly Payroll report contains the total hours and gross earnings for union employees within a specified time period.
-
Choose Reports > Job Cost > Labor Reports > Monthly Payroll.
-
In the From and To fields, enter the beginning and ending values for your range. Enter the beginning and ending transaction dates, not the week-ending dates.
-
Choose the Insert >>. You can select one range per report.
-
Choose Print.

Monthly Contribution Report
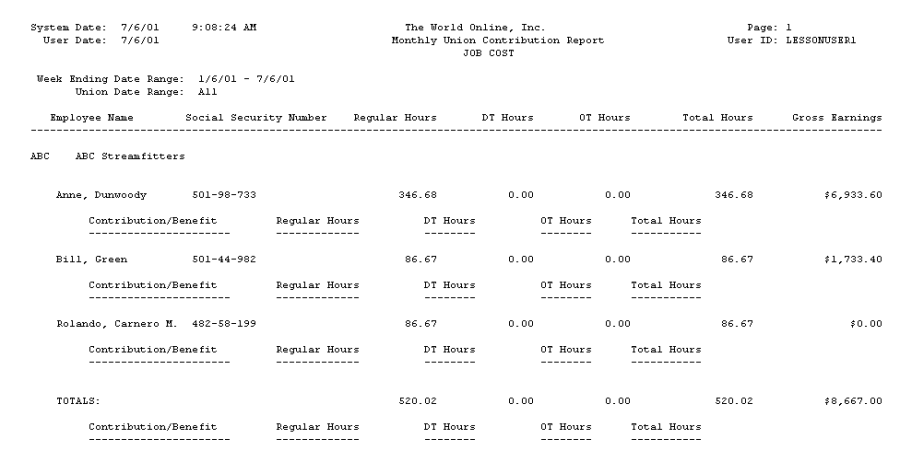
The Monthly Contribution report contains the benefits, deductions, hours, and gross earnings for each employee in a union.
-
Choose Reports > Job Cost > Labor Reports > Monthly Contribution.
-
In the Ranges field, use the drop-down list to select the range(s) for the report. You can specify ranges for the week-ending date and for union code.
-
In the From and To fields, select the beginning and ending values for your range. For the Week-Ending Date range, enter the beginning and ending transaction dates, not the week-ending dates.
-
Choose Insert >>. You can create one range for each type of range.
-
Choose Print.
Technician Schedule Report
The Technician Schedule report lists jobs and the technicians scheduled to work on the jobs. You can print the report for all jobs, a single job, or a range of jobs. You can also filter the report by cost code number. The Technician Schedule report is available if you're using the Job Scheduling feature.
-
Choose Reports > Job Cost > Labor Reports > Technician Schedule.
-
Choose to print the report for all jobs, a single job, or a range of jobs. Enter the Job Number or range.
-
Enter the date range.
-
Choose to print the report for all cost codes or a specific cost code. Enter the Cost Code.
-
Choose Print.

